Clicker training techniques allow us to communicate with our animals using positive reinforcement. Positive reinforcement (which you may sometimes see abbreviated as +R) is one of the quadrants of learning. It involves adding something desirable to the interaction to increase the likelihood that an animal will repeat a behavior.
To enhance its benefits, positive reinforcement is paired with a conditioned reinforcer to help animals recognize that we like what they have done. A conditioned reinforcer is a marker such as a clicker sound, whistle, or verbal response (“Good!” or “Yes!”) that is associated through repeated pairings with something such as high-value treats or a favorite toy. The marker sound, in this case a “click,” reinforces desired behaviors as they occur. This article reviews the basics of how to use a clicker and breaks down how to “capture” and “shape” behaviors.
The Marker
The most common marker used in animal training is a sound such as a click or a word such as “Yes.” The sound is brief so as to capture only a specific piece of behavior. The click is initially just a sound until it is paired with something positive. Pair the click with the positive outcome using classical conditioning.
Classical conditioning is the process by which the animal associates a conditioned stimulus such as a delicious treat with an unconditioned stimulus (the clicker). When the click is heard, it should always be paired with something positive (a treat). The ratio should always be 1:1. Every time you click, follow it with a treat.
Here’s an example. Let’s say we are teaching a new puppy to come when called (recall). To teach a successful recall, the puppy first needs to know her name. Say the puppy’s name and watch for any head turn or response. If you observe a response, click to communicate to the puppy that this is the behavior you want. After the click is given, always follow it with a treat within 1 to 2 seconds.
Timing: Giving Clicks and Rewards
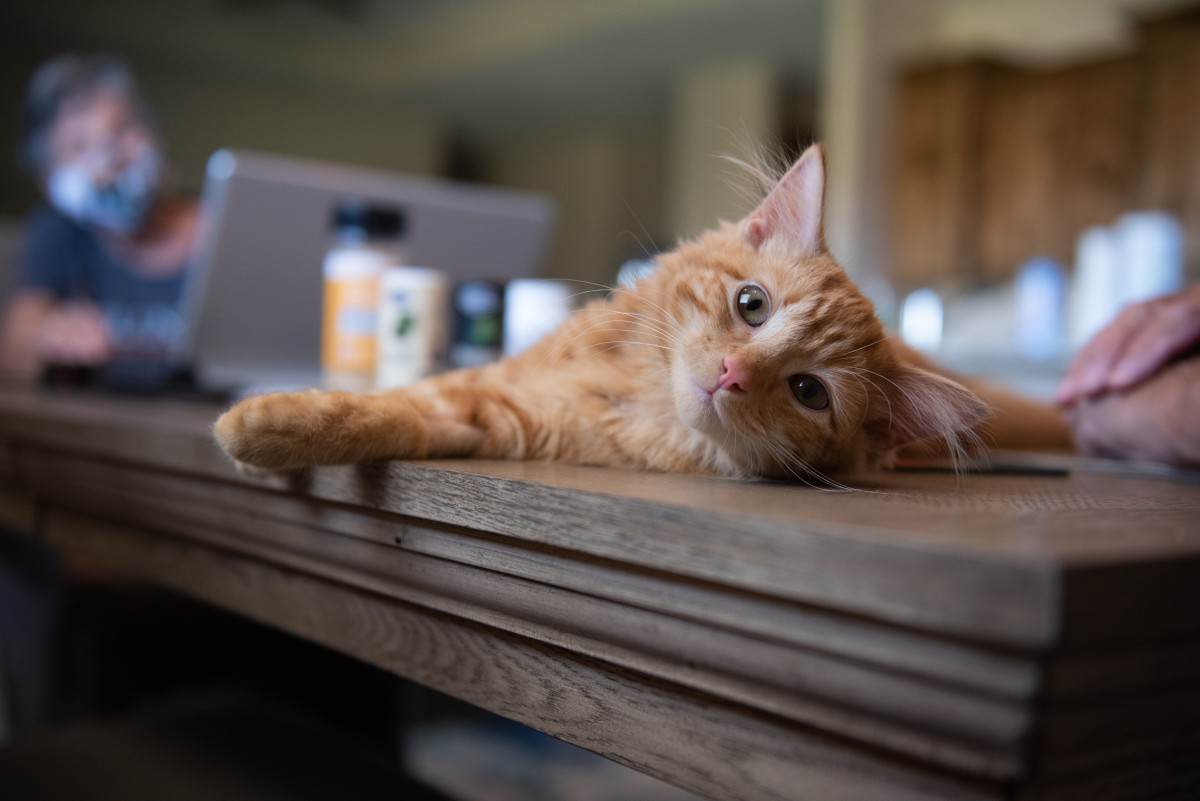
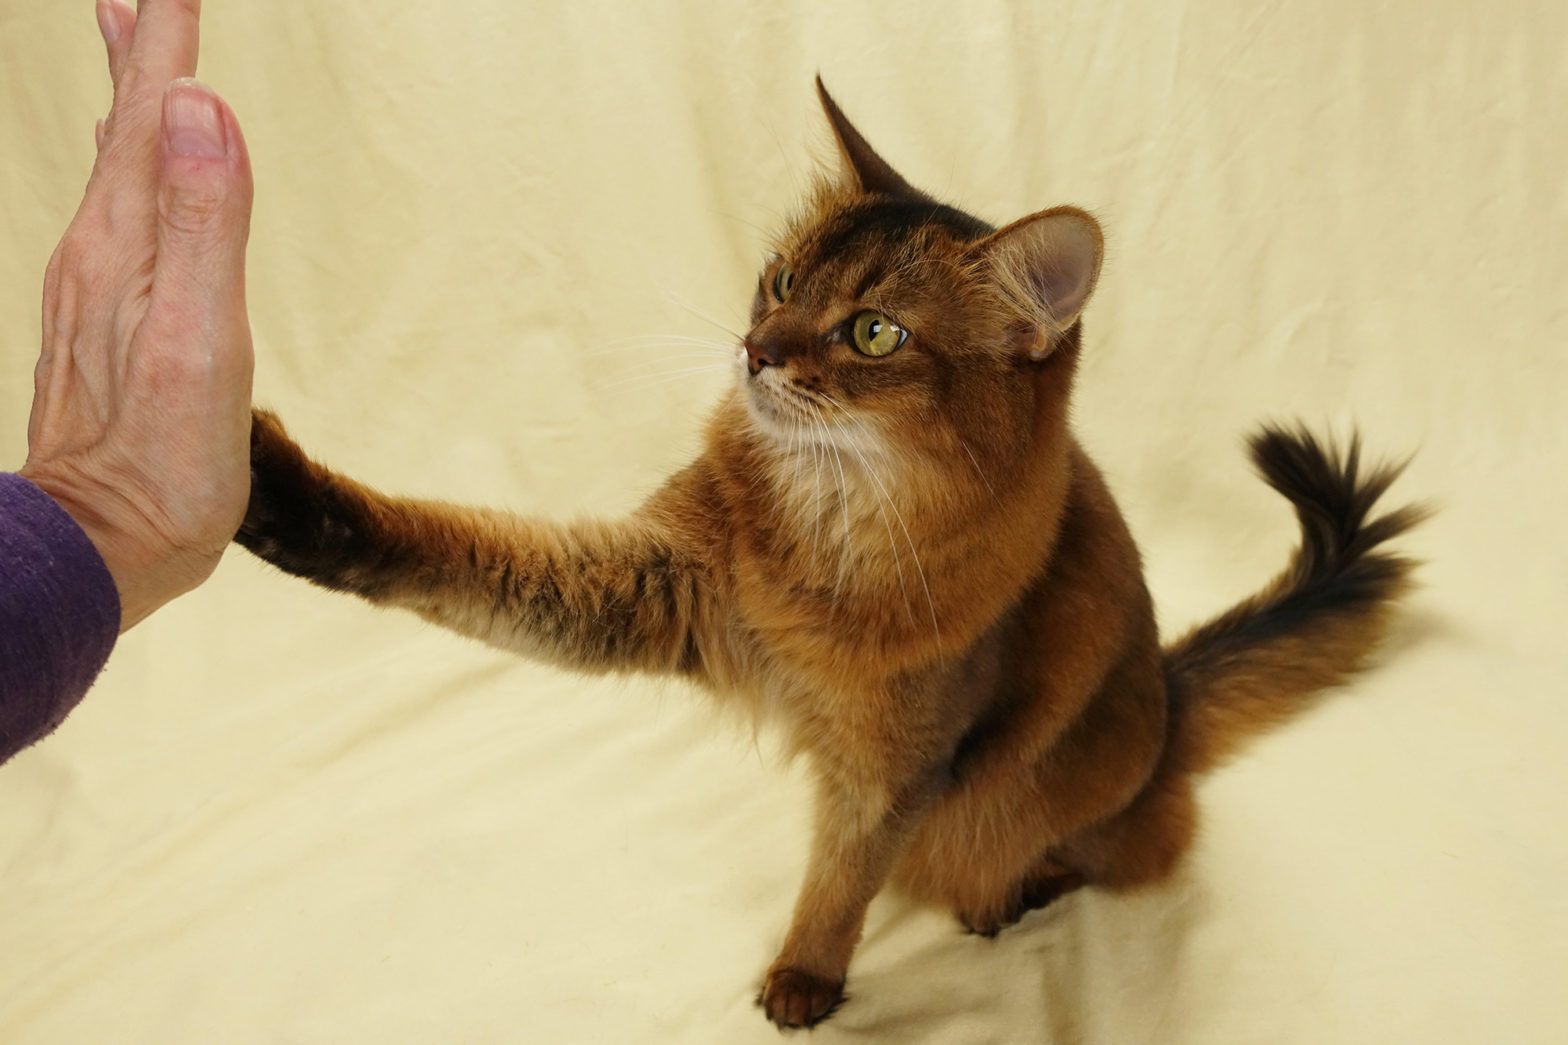
Clicker mechanics are important. Sloppy mechanics make for a frustrated owner/trainer and dog (or other learner; cats, horses, birds, and other animals can be clicker-trained, too).
Reinforcement should occur within 1 second of the marked behavior (before another behavior occurs). It is important to click first and then move your hand to obtain the treat to reward the learner. Keep in mind that the most important part is the click. The click is the communication that allows the puppy, kitten, or adult animal to recognize the specific behavior being rewarded. Remember:
- Click first, then treat
- Treat hand moves after the click
Click the moment the behavior occurs. Late clicks will not cause negative effects, but will communicate inaccurate information about the behavior being reinforced. Strategic treat placement can also be helpful in setting a learner up to offer a wanted behavior. Treats can be handed to the learner or tossed so the learner moves to obtain the treat and can potentially reset the training session so the learner will repeat the wanted behavior.
Clicker Training Techniques: Capturing Versus Shaping
Two techniques are used to teach new behaviors: capturing and shaping.
Capturing: This technique involves waiting for a behavior to occur and marking (reinforcing) the behavior as it happens naturally. Behaviors such as sit, down, yawning, or taking deep breaths can be captured.
- Example: For potty training success the clicker can be used to “capture” the behavior of elimination outside. Click during the last drops of urine or stool in the desired location.
Shaping: This is the process of “molding” a behavior by successively reinforcing bits or “criteria” of behavior that are approximations of the final response. Over time, criteria increase, making the game more challenging for the learner until the goal behavior is reached. For example, teaching a learner to willingly place their nose in a muzzle is a behavior that can be shaped. Here are the steps or “criteria” for shaping this behavior:
- C/T for looking at the basket muzzle
- C/T for moving or weight shifting toward the basket muzzle
- C/T for neck movement and sniffing toward the basket muzzle
- C/T for nose touching the outside of the basket muzzle
- C/T for nose touches toward the opening of the basket muzzle
- C/T for nose touches inside the basket muzzle
- C/T for nose moving halfway into the basket muzzle
- C/T for nose moving all the way into the basket muzzle
**C/T = Click then Treat
When shaping a behavior, increase criteria only when the previous behavior has been offered in a tight loop or in a predictive manner. When a training session begins, the learner starts to offer the behavior to gain reinforcement, the click occurs, and the treat is given. In the above example, if the learner continued to nose touch the outside of the basket muzzle consistently (8 to 10 times in a row) we would increase the criteria.
To increase the criteria, the learner will no longer gain reinforcement for the behavior of the nose touching the outside of the basket muzzle. This may at first cause irritation or frustration. Then the learner will start offering other behaviors. Capture the behavior when then the learner offers nose touches inside the basket muzzle.
When shaping behaviors, it is important to use a high rate of reinforcement. This means that clicking and treating should occur at a rate of 8 to 10 C/Ts in 1 minute. The click is how we are communicating to the learner. Keeping a consistent amount of communication is the best way to ensure that the learner can reach the goal behavior. Think of it as a conversation. If someone stops talking, the conversation can’t continue. Remember that you can move up and down the criteria ladder based on your learner. With the above example, if the pet is offering to place her nose halfway into the basket once or twice and then becomes distracted or seems stuck, the rate of reinforcement can help to get the learner back on track. Even though the learner was able to place her head into the basket once or twice, we need to lower the criteria to create more success and keep the amount of clicks and treats higher since that behavior is no longer being offered.
Having a shaping plan is helpful. So is remembering that learners may need frequent increases and decreases in criteria. Also, many animals may skip steps. Be prepared for any jumps the animal may take in the plan.
Using clicker training can improve communication, accelerate learning, strengthen the human-animal bond, and help build confidence. It is a hands-off, nonthreatening technique that can be used by family members of all ages and sizes. Check with your veterinary team for a recommended clicker trainer in your area! Karen Pryor Certified Training Partners (Dog Trainers who are skilled with using Clicking Training) can be found here.
This article was reviewed/edited by board-certified veterinary behaviorist Dr. Kenneth Martin and/or veterinary technician specialist in behavior Debbie Martin, LVT.